
Last updated September 23, 2026
Attic Insulation Maintenance Checklist for West Hollywood Homeowners
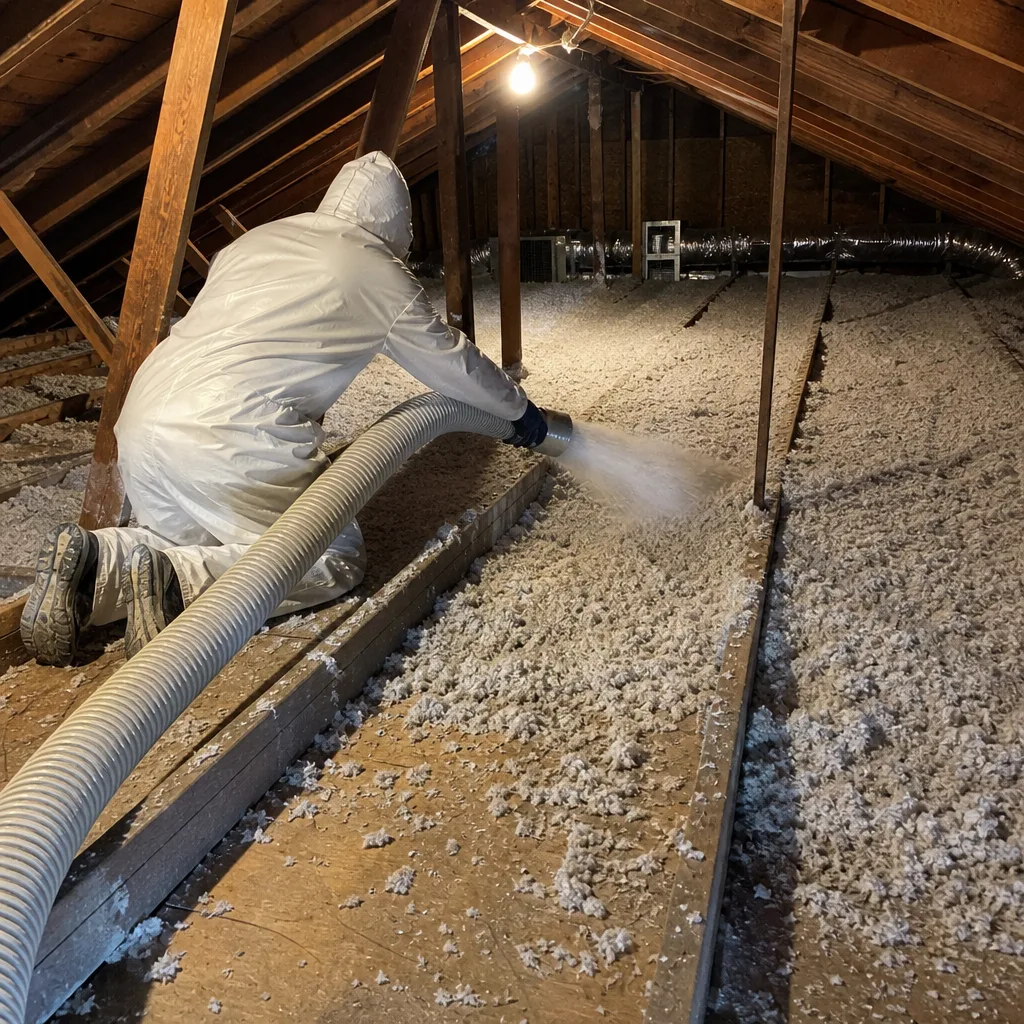
Cellulose insulation that measured R-38 at installation can settle to R-28 within five years if the attic bypasses feeding it warm air were never sealed. The insulation didn’t fail; the air pathway underneath it did. In West Hollywood, where 1950s wood-frame bungalows sit beside 1980s stucco condos and new ADUs squeeze into tight lots, we’ve seen this exact scenario on hundreds of revisit inspections. Most homeowners never receive a checklist at installation, so they never know what to watch for. This guide - alongside our The Complete Guide to Insulation in West Hollywood - gives you the inspection sequence our blower-door technicians use when we return to a job: what to check with a flashlight, what requires pressurization testing, and what changes mean it’s time for documented re-evaluation.
Quick Answer
West Hollywood homeowners should inspect attic insulation twice yearly, in April and October, using a five-step sequence: measure settled depth against the original job log, inspect top plates and can lights for failed air sealing, check for rodent pathways and compression damage, examine HVAC ducts for disconnected runs or torn flex, and verify ventilation channels remain open. Annual blower-door testing catches what visual inspection cannot: active air leaks through the thermal boundary that reduce effective R-value even when insulation appears intact.
Table of Contents
- Why Attic Insulation Degrades in West Hollywood Homes
- The Annual Flashlight Inspection: What You Can Do
- Measuring Settled Depth and Calculating R-Value Loss
- Four Signs Attic Air Sealing Has Failed
- Rodent Pathway Inspection: WEHo’s Older Wood-Frame Risk
- HVAC Duct Condition Checks on the Same Pass
- What Requires a Technician With a Blower Door
- The Documentation Schedule: Written Re-Evaluation Triggers
 Before
 After
AfterWhy Attic Insulation Degrades in West Hollywood Homes
West Hollywood’s housing stock spans nearly a century of construction methods, and each era presents distinct failure modes. The 1920s-1940s Spanish Revival and Tudor cottages north of Santa Monica Boulevard often have original knob-and-tube wiring penetrations, balloon framing with no top plates, and attic access hatches that were never weatherstripped. The 1950s-1970s tract homes south of Melrose typically have better framing but suffer from decades of incremental HVAC additions, each new duct run creating fresh penetrations through the air barrier. The 1980s-1990s condo conversions along Fountain Avenue and the newer ADUs on Romaine Street present their own patterns: compact attic volumes where spray foam or dense-pack cellulose was applied without adequate substrate preparation.
The common thread is this: insulation materials rarely fail chemically. Fiberglass batts don’t crumble. Cellulose doesn’t rot. Spray foam from quality manufacturers like Icynene or Demilec doesn’t disintegrate. What fails is the assembly: the air barrier that keeps conditioned air on the living side and unconditioned attic air on the other.
When that air barrier leaks, several things happen in sequence. Warm, moist interior air rises through electrical penetrations, top plate gaps, and around chimney chases. That air carries dust and cooking particulates, which deposit on insulation surfaces and gradually increase their conductivity. In winter, the moisture condenses against cold sheathing, wetting insulation from above. In summer, the same leaks draw superheated attic air downward, creating hot ceilings and forcing air conditioning systems to cycle longer. The insulation itself looks fine. Its performance has collapsed.
West Hollywood’s climate amplifies this. We’re in Climate Zone 3B: hot, dry summers with attic temperatures regularly exceeding 140°F, and mild winters with occasional rain events that drive moisture inward. The temperature differential across the ceiling assembly is extreme for eight months of the year. A 2% air leakage rate in a Minneapolis attic might go unnoticed; in West Hollywood, that same leakage creates measurable thermal penalty within a single cooling season.
We’ve documented this pattern repeatedly. On a revisit to a home near Plummer Park, the blower-door test read 3,800 CFM50 before sealing and 1,900 after. The homeowner’s original cellulose, installed eight years prior, appeared fluffy and uniform. But the bypasses around a remodeled bathroom vent fan and an unsealed party-wall top plate were leaking approximately 280 CFM of conditioned air continuously. The insulation wasn’t the problem. The assembly was.
The Annual Flashlight Inspection: What You Can Do
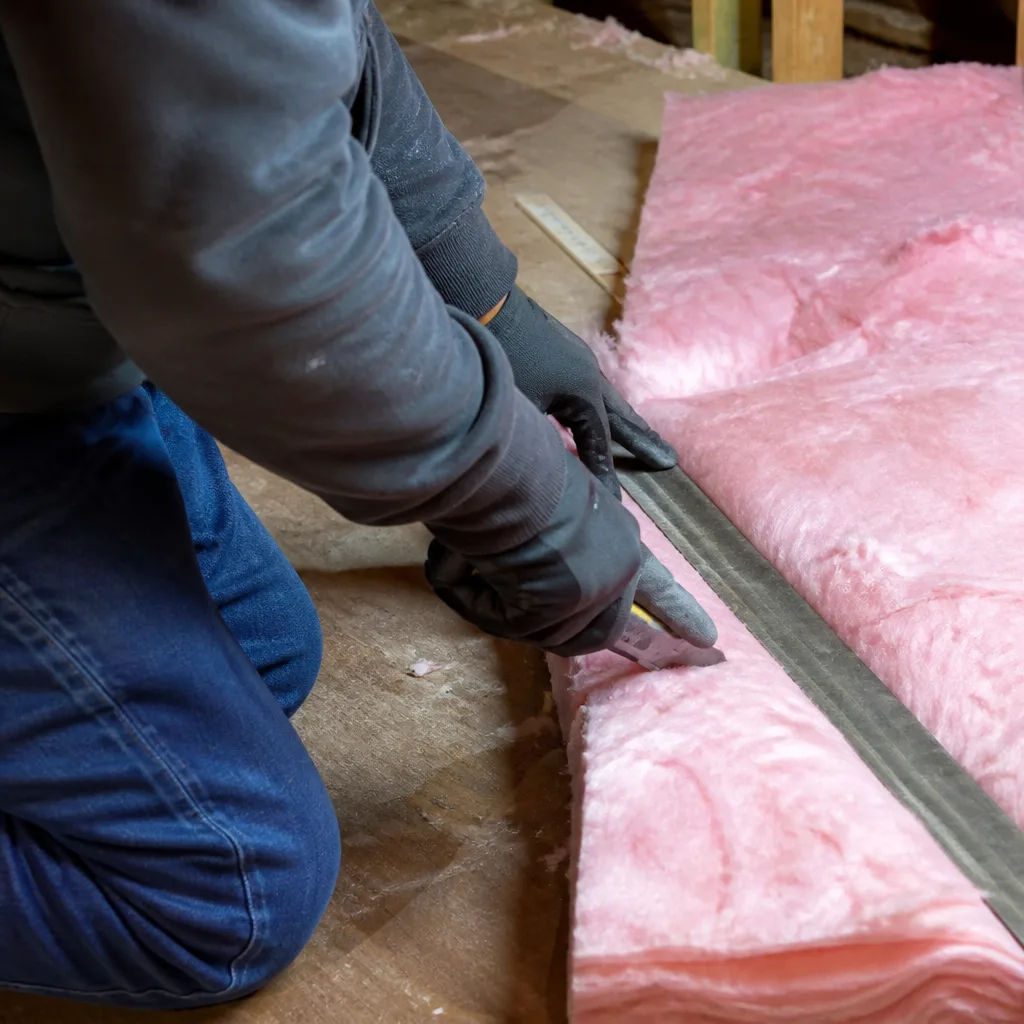
Every April and October, set aside 45 minutes for a systematic attic pass. These months bracket West Hollywood’s peak cooling and heating loads, so conditions you observe will reflect the seasonal extremes. You’ll need: a bright flashlight, a tape measure or ruler, a smartphone for photos, and the original insulation job documentation if you have it.
Before entering, turn off the HVAC system and wait ten minutes. You want the attic at thermal equilibrium, not actively being fed by a running air handler. Open the access hatch slowly; if you feel a rush of air either direction, note it. That pressure differential is your first clue that the boundary is compromised.
- Photograph the entry condition. Take a photo from the hatch looking across the attic floor, then one looking toward the ridge. These become your year-over-year comparison baseline. Under Haven Standard, we provide a Documented Photo Record on every visit; you should maintain your own parallel record.
- Walk the perimeter on joists or a plank. Never compress insulation by walking on it. In West Hollywood’s older homes with 2×6 ceiling joists, the walking surface is narrow; bring a 1×10 plank to distribute your weight. Move systematically: start at the access hatch and work clockwise.
- Inspect all visible penetrations. Electrical boxes, recessed can lights, plumbing vents, chimney chases, and HVAC boots. Look for dark staining on insulation surfaces, which indicates air filtration. Look for gaps where sealant has cracked or pulled away from framing. Note any new penetrations from recent electrical or plumbing work.
- Check ventilation openings. Soffit vents should be unobstructed by insulation. Ridge vents should show daylight and no bird or rodent nesting. In West Hollywood, where mature ficus and magnolia trees overhang many roofs, leaf accumulation in soffits is common. Gable vents should have intact screens.
- Examine the insulation surface for uniformity. Settled areas, compressed paths from previous service work, water stains, or disturbed patches all warrant closer inspection. Take photos of anything that differs from your prior visit.
If you find changes, don’t guess at cause. The next section explains how to measure what you’ve found.
Measuring Settled Depth and Calculating R-Value Loss
Insulation R-value is rated at a specific settled thickness. For loose-fill cellulose, that’s typically R-3.2 to R-3.8 per inch, depending on density. For fiberglass batts, the nominal thickness printed on the facing is the design thickness; compression below that reduces R-value proportionally. For spray foam, thickness is fixed at application, but degradation is rare except in cases of mechanical damage or UV exposure.
Here’s the measurement protocol we use on revisits:
- Locate the original installed-depth log. This should be on your insulation job documentation. If you don’t have it, the California Energy Commission’s Title 24 compliance documentation, required for all permitted work since 2014, includes this figure. For pre-2014 work, estimate based on the insulation type and the target R-value for your climate zone. In West Hollywood, current code minimum is R-38 for ceilings, though R-49 is increasingly common in quality work.
- Measure at six locations minimum. Use a ruler or tape measure, pressing gently through the insulation until you feel the drywall or plaster ceiling below. Measure at: the attic center, two points midway to the eaves, and three points near penetrations or walls where settling is most likely. Record each measurement.
- Average and compare. If your average depth is 15% or more below the installed depth, you’ve lost meaningful performance. For cellulose, which settles 10-20% in the first two years even under ideal conditions, some initial loss is expected. But continued loss beyond year three indicates either inadequate initial density or ongoing air movement fluidizing the material.
What does 15% depth loss mean in practice? For cellulose at R-3.5 per inch, an original 10.9-inch depth (R-38) that settles to 9.3 inches has dropped to approximately R-32.5. That’s a 14% thermal performance reduction. In West Hollywood’s cooling-dominated climate, that translates to longer AC runtime, higher peak demand charges, and accelerated equipment wear. The fix isn’t adding more insulation over the settled material, which would simply bury the problem. The fix is identifying why settling occurred, whether air movement or inadequate density, and correcting the cause before restoring depth.
We’ve measured this exact scenario in a home near Sweetzer Avenue. Original cellulose installation in 2019 at 11 inches depth. Our 2024 revisit measured 8.2 inches average, a 25% loss. The cause: an unsealed top plate gap along the party wall with a neighboring unit, creating a continuous air wash across the attic floor. The cellulose had migrated toward the gap, leaving thin patches elsewhere. We sealed the gap, re-established depth, and the blower-door reading improved from 3,400 to 2,100 CFM50. The homeowner’s summer cooling bill dropped 18% the following season.
Four Signs Attic Air Sealing Has Failed
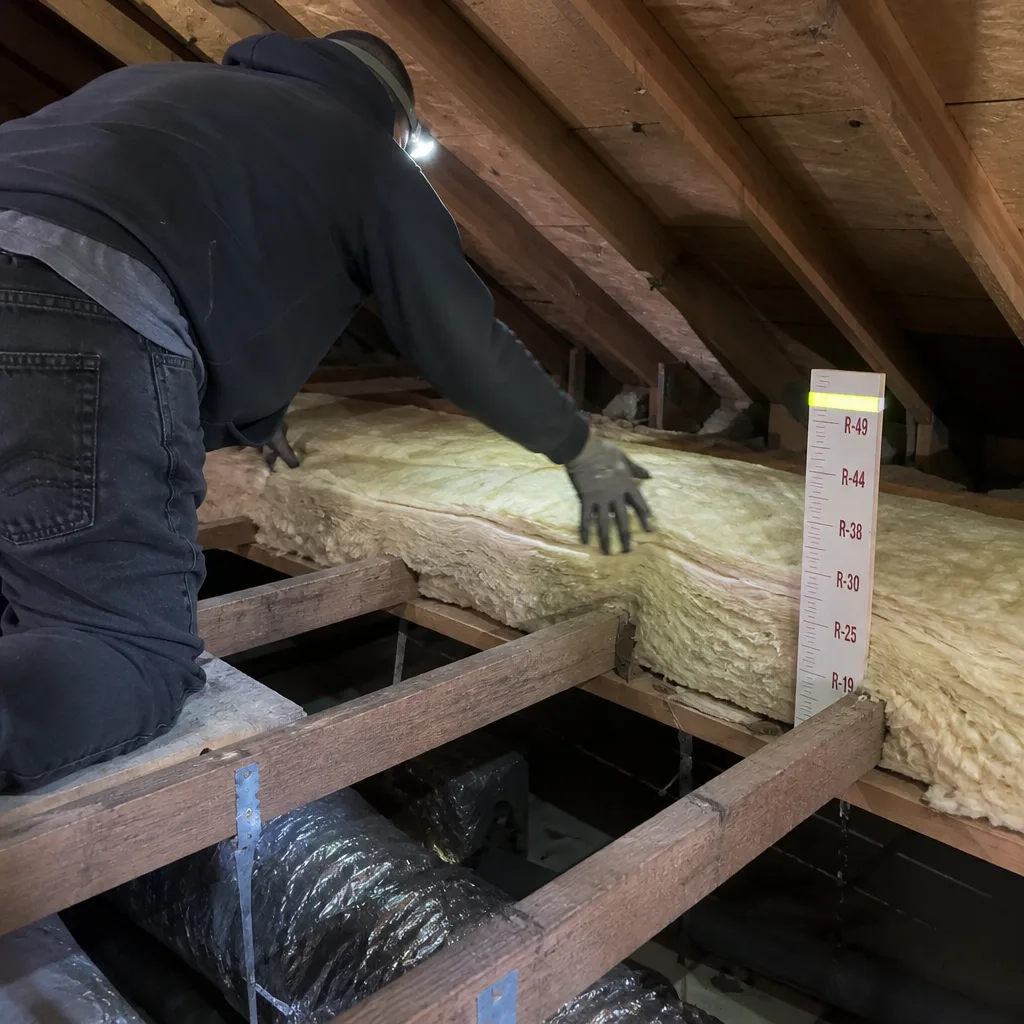
These are the observable indicators that air sealing has failed independent of whether the insulation material itself looks intact. We’ve ranked them by how frequently we encounter each on West Hollywood revisits.
1. Dark staining on insulation surfaces
Air leakage carries dust, which deposits on insulation fibers as the air slows and changes direction. The result is gray or black streaking, most visible on fiberglass batts and at the edges of loose-fill areas. In West Hollywood’s older homes with original plaster ceilings, we’ve seen staining so pronounced it resembles soot. The source is almost always a penetration that was never sealed: an old electrical box, a plumbing vent stack, or a chimney chase with no fire-stop caulking. The insulation isn’t dirty; it’s filtering air that shouldn’t be moving through it.
2. Temperature stratification at the hatch
On a summer afternoon, the attic air should be uniformly hot. If you feel a cool layer near the floor, or if the access hatch itself is noticeably cooler than the surrounding framing, conditioned air is leaking upward through the thermal boundary. This is common in homes where the attic hatch was never weatherstripped or where pull-down stairs create a large unsealed opening. We’ve measured 15°F differentials at hatches in homes near Doheny Drive where the homeowners had no idea they were cooling their attic 24 hours a day.
3. Moisture marks on roof sheathing
In winter, warm moist air leaking through the ceiling condenses on the underside of cold roof sheathing. The result is water staining, mold spotting, or in severe cases, delaminated plywood. In West Hollywood’s mild climate, this is less dramatic than in colder regions, but it still occurs during December and January rain events. The pattern to look for: staining concentrated above bathrooms, kitchens, or laundry rooms, where interior humidity is highest. If you see this, the air sealing has failed and the moisture is traveling through the insulation, not around it.
4. Inconsistent insulation density near walls and penetrations
Air movement fluidizes loose-fill insulation, creating thin spots near leaks and piled-up areas downstream. Walk the attic perimeter and look for this pattern. In West Hollywood’s 1960s-1970s homes with open-blow cellulose, we regularly find 3-inch depths at exterior top plates and 14-inch depths in the center of the attic. The center looks great. The edges, where thermal bridging matters most, are effectively uninsulated.
Each of these signs indicates that the air barrier, not the insulation material, needs attention. Adding insulation over a failed air barrier is like adding a thicker blanket over a window you’ve left open. We won’t do it. Under our Haven Standard, air sealing of top plates, can lights, and penetrations is completed before any insulation is added, on every job.
Rodent Pathway Inspection: WEHo’s Older Wood-Frame Risk
West Hollywood’s building stock includes thousands of wood-frame structures with continuous framing from foundation to roof, creating highway-like pathways for rodents. Once inside, they compress insulation for nesting, contaminate it with urine and feces, and create new air leaks by gnawing through sealant and framing. The inspection protocol:
- Follow the plumbing and electrical risers. In pre-1950s homes, these often run in exterior walls with no fire blocking between floors. A mouse entry at the foundation can reach the attic in minutes. Look for gnaw marks, droppings, or compressed insulation tunnels along these paths.
- Inspect the eave and soffit junctions. Wood-frame eaves in West Hollywood’s older homes frequently have gaps where rafter tails meet the top plate, or where fascia boards have pulled away from rafter ends. These are primary entry points for roof rats, which are common in our dense urban canopy.
- Check around chimney chases and vent stacks. The gap between a metal vent and the surrounding framing is often covered with loose flashing or nothing at all. Rodents exploit these, and in doing so, destroy air sealing.
- Look for insulation compression, not just damage. A rodent runway through cellulose or fiberglass creates a permanent density reduction. Even after the animal is excluded, the compressed path remains an air leak. The insulation must be lifted, the pathway sealed with rodent-proof material, and the insulation restored to original depth.
We’ve worked on homes near San Vicente Boulevard where the original 1940s framing included no sill seal between the foundation and the mudsill. Roof rats entered through a 3/4-inch gap, traveled up a plumbing wall, and established a nest in the attic insulation. The insulation appeared intact from the hatch. Only systematic perimeter inspection revealed the compressed tunnels and the entry path. After exclusion, air sealing, and insulation replacement with new blown-in material, the blower-door reading improved 34%.
If you find evidence of rodent activity, don’t simply add more insulation. The contamination remains, the compression remains, and the entry paths remain. The correct sequence is exclusion, cleaning, air sealing, then insulation restoration. We handle this full sequence; it’s part of our attic insulation and cleaning service for West Hollywood homes.
HVAC Duct Condition Checks on the Same Pass
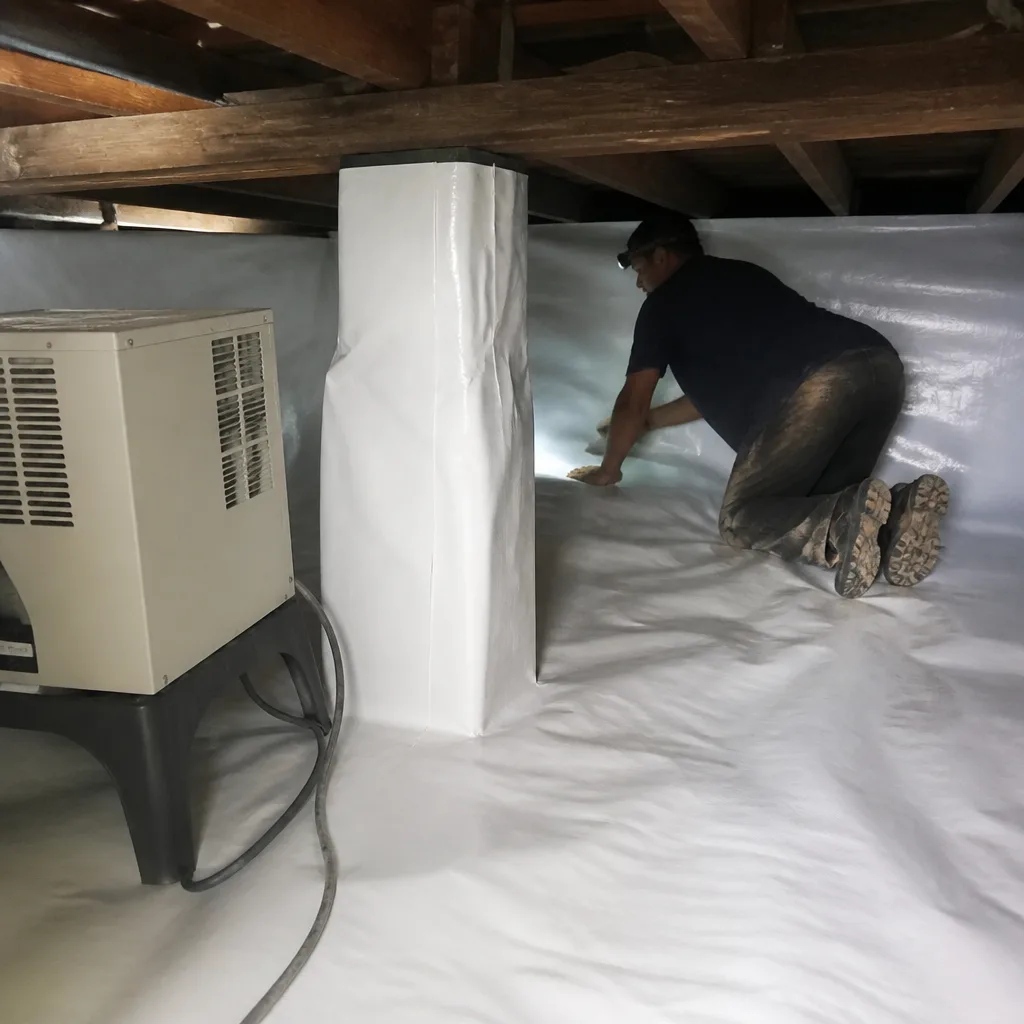
A leaking duct in an insulated attic negates the insulation’s function. This isn’t theoretical; it’s thermodynamics. If your supply duct leaks 15% of its airflow into the attic, that conditioned air is lost. If your return duct leaks, you’re sucking 140°F attic air into the system, forcing it to work harder to reach setpoint. The attic may be beautifully insulated. The house is still uncomfortable and expensive to cool.
Include these checks in your biannual inspection:
- Visually trace all duct runs. In West Hollywood homes, flex duct is common in additions and retrofits, while hard duct with wrapped insulation appears in original construction. Look for disconnected joints, torn outer vapor barriers, and sagging flex that has pulled away from boots or plenums.
- Check duct insulation condition. Fiberglass wrap with torn facing, compressed sections from service work, or sections where the tape has failed all reduce effective R-value. Duct insulation in attics should be minimum R-6; in West Hollywood’s peak summer conditions, R-8 is preferable.
- Feel for temperature anomalies. With the system running, a supply duct should be cool to the touch through its insulation. If you feel warmth, the insulation has failed or the duct is leaking internally. A return duct should be near room temperature; if it’s hot, it’s pulling attic air.
- Inspect the air handler platform. The platform itself is often a large unsealed penetration through the ceiling. Look for gaps between the platform and the framing, and for missing or failed sealant around refrigerant lines and condensate drains.
On a recent revisit near Holloway Drive, we found a 12-inch flex return duct with a 4-inch longitudinal tear, hidden above a water heater platform. The homeowner’s complaint was “the second bedroom never cools.” The attic insulation was R-38 throughout. The duct was pulling 100% attic air. We replaced the duct section, sealed the platform, and the room reached setpoint for the first time in three summers.
Duct leakage is invisible to most homeowners. It’s also invisible to insulation-only contractors who don’t treat the envelope as a system. We publish before-and-after blower-door numbers on every applicable job so you can see the performance change, including duct leakage reduction when that’s part of the scope.
What Requires a Technician With a Blower Door
Visual inspection catches surface problems. It cannot catch active air leakage through the thermal boundary. For that, you need pressurization testing: a blower-door test, which depressurizes the house and measures airflow through leaks, combined with infrared scanning or theatrical smoke to locate the paths.
Schedule professional testing when:
- Your visual inspection reveals any of the four air-sealing failure signs described above
- Energy bills have increased 15% or more year-over-year without rate changes
- Rooms have developed temperature imbalances that didn’t exist previously
- You’re considering adding insulation - we will not add material without verifying the air barrier first
- It’s been more than five years since any envelope work was performed
The blower-door test produces a single number: CFM50, or cubic feet per minute of airflow at 50 Pascals of pressure difference. For context, a typical 2,000 square foot West Hollywood home built in the 1960s might test at 3,500-4,500 CFM50 before air sealing. After comprehensive sealing of top plates, can lights, penetrations, and the access hatch, that same home typically tests at 1,800-2,400 CFM50. The difference is conditioned air you’re no longer losing.
We provide these numbers in writing, before and after, on every applicable job. You receive the documented record. If a contractor won’t test, you don’t know what you’re buying. Under Haven Standard Clause 1, every job begins with a written price and a written scope; for envelope work, that scope includes the target CFM50 reduction when testing is applicable.
The Documentation Schedule: Written Re-Evaluation Triggers
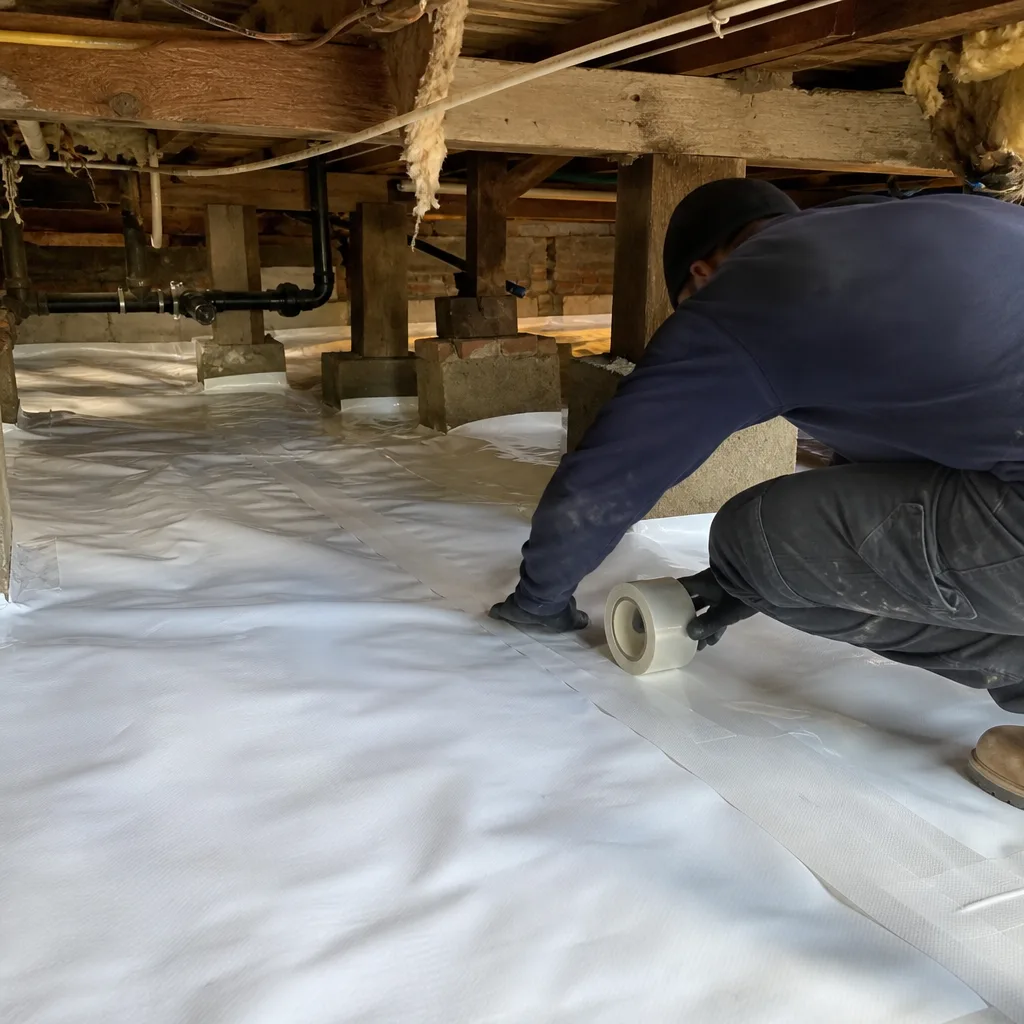
Maintenance without documentation is just guessing. Here’s the schedule we recommend for West Hollywood homeowners, based on 9,000+ homes we’ve sealed and insulated since 2016:
| Frequency | Task | Who Performs | Trigger for Professional Re-Evaluation |
|---|---|---|---|
| Every April & October | Flashlight inspection: depth measurement, penetration check, ventilation verification, rodent pathway scan, duct visual | Homeowner | Any of the four air-sealing failure signs; 15%+ depth loss; evidence of rodent activity; visible duct damage |
| Every 2-3 years | Blower-door test with infrared scan; written comparison to prior test results | Technician with blower door and thermal camera | CFM50 increase of 10%+ from prior test; new penetrations from remodeling; comfort complaints |
| After any remodeling | Full envelope evaluation: new penetrations, altered ductwork, changed insulation boundaries | Technician | Any structural, electrical, plumbing, or HVAC work that interacts with the thermal boundary |
| After rodent exclusion | Insulation replacement in contaminated areas; air sealing of entry paths; depth restoration | Technician | Any confirmed rodent activity in attic |
The critical principle: don’t wait for failure. A 10% increase in CFM50 from your baseline means air leakage has worsened, even if you can’t see it. Catching this early prevents the compound degradation that makes later remediation expensive. We’ve seen homeowners delay testing for years, then face $8,000-$12,000 in combined air sealing, insulation replacement, and duct repair when early intervention would have cost a fraction of that.
Your documentation should include: the original job scope and price, installed insulation depths and locations, blower-door baseline, photos from each inspection, and any subsequent work with its own scope and test results. We provide this as standard on every job. If your prior contractor didn’t, start your own file now. Under Haven Standard, you receive the written scope, the written warranty, and the documented photo record before anyone leaves.
Common Mistakes to Avoid
- Adding insulation over failed air sealing. This buries the problem, traps moisture, and wastes material. The correct sequence is seal first, then insulate. We encounter this mistake regularly on West Hollywood homes where a previous contractor blew cellulose over unsealed top plates.
- Compressing insulation during service work. Every time an electrician or plumber walks through the attic, they compress the path they take. That path becomes a thermal bridge. Insist that service crews use planks, and restore compression damage after they leave.
- Blocking soffit vents with added insulation. In an effort to increase R-value, homeowners or contractors sometimes push insulation into eave vents. This stops ventilation airflow, creates moisture problems, and can void roofing material warranties. Use baffles to maintain the ventilation channel.
- Ignoring party-wall air leakage in condos and townhomes. West Hollywood’s dense housing includes many attached units where the party wall extends into the attic without proper blocking. This is a massive, invisible leak path that visual inspection alone cannot fully assess.
- Assuming spray foam is maintenance-free. While closed-cell spray foam from quality manufacturers like Icynene or Demilec is durable, it can be damaged by rodents, UV exposure if the roof deck is visible, or mechanical impact. Inspect it annually like any other material.
- Skipping duct inspection because “the insulation looks fine.” Duct leakage is independent of insulation condition. A perfectly insulated attic with leaking ducts performs worse than a moderately insulated attic with tight ducts.
- Waiting for comfort complaints before inspecting. By the time you’re uncomfortable, degradation has been underway for months or years. The biannual schedule catches problems before they affect daily living.
When to Call a Professional
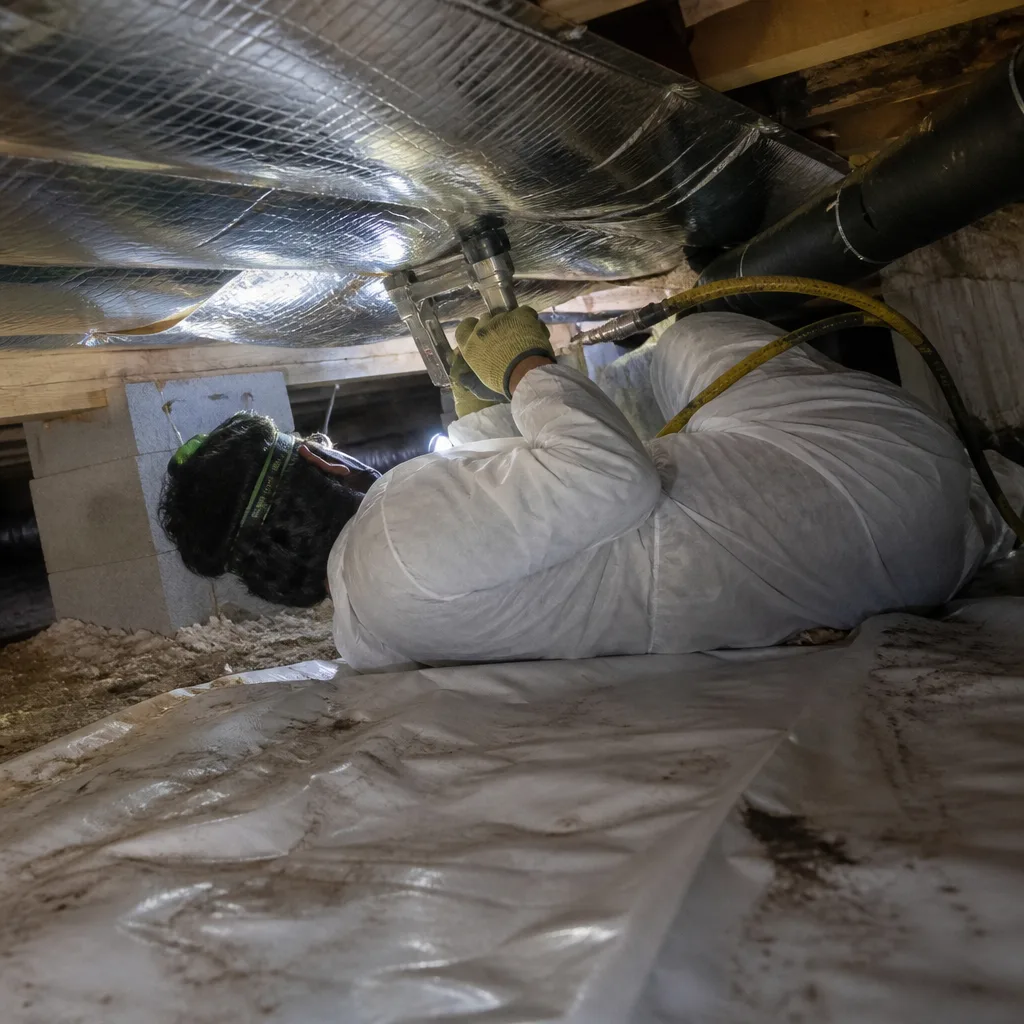
Call when your inspection reveals any trigger condition, when it’s been more than three years since professional envelope testing, or when you’re considering any insulation addition or replacement. In West Hollywood’s competitive housing market, documented envelope performance also supports resale value; buyers increasingly request utility history and energy audit results.
Attic Insulation services from Topside Attic Insulation West Hollywood include free estimates in West Hollywood. We’ll review your existing documentation, perform a blower-door test if indicated, and provide a written scope and price before any work starts. No exceptions. Call (213) 306-2607 to schedule.
Frequently Asked Questions
Professional blower-door testing with infrared scanning typically runs $350-$550 for a standard single-family home or condo in West Hollywood. If remediation is needed, air sealing work ranges from $1,200-$3,800 depending on access conditions and the number of penetrations, while insulation depth restoration or replacement is priced by the square foot and material type. Most attic insulation jobs in a home this size run between $2,800 and $7,500 for complete air sealing plus insulation. We provide a written price before any work starts, always, and offer a Free Second Opinion on any written estimate from another contractor. Call (213) 306-2607 for an exact quote - estimates are free.
The biannual flashlight inspection - depth measurement, visual penetration check, ventilation verification, and rodent pathway scan - is within most homeowners’ capability with a plank, flashlight, and ruler. However, air-sealing remediation, blower-door testing, and any work involving disturbed or contaminated insulation requires a professional. See our DIY vs Professional Insulation: The West Hollywood Homeowner’s Decision Guide for a detailed comparison. We do not recommend DIY air sealing in attics with active knob-and-tube wiring, which remains present in many pre-1950s West Hollywood homes. Call (213) 306-2607 to discuss what you found and whether professional follow-up is warranted.
Quality insulation materials themselves last 20-30 years or more. Replacement is typically driven by contamination, compression, or water damage rather than material failure. In West Hollywood’s dry climate, fiberglass and cellulose don’t degrade chemically. However, we’ve replaced insulation in homes as young as 8 years old where rodent activity, unsealed air leaks causing fluidization, or remodeling damage had destroyed performance. The biannual inspection schedule catches these conditions early. If your insulation is over 15 years old and has never been professionally evaluated, schedule a blower-door test to determine actual condition.
Current California Title 24 code minimum for ceiling insulation in Climate Zone 3B is R-38. Many quality contractors, including Envelope Insulation Co., target R-49 for West Hollywood homes given the extreme summer attic temperatures and high cooling loads. R-38 equals approximately 10-11 inches of cellulose or 12 inches of fiberglass. R-49 requires 13-15 inches of cellulose or 15-16 inches of fiberglass. Spray foam applications vary by product; closed-cell foam at 6-7 inches achieves R-38, while open-cell requires greater depth. We specify exact depths and target blower-door numbers in every written scope.
This is the most common symptom of air-sealing failure with intact-looking insulation. The thermal boundary is leaking conditioned air upward while pulling attic heat downward, creating convective loops that bypass the insulation entirely. Alternatively, duct leakage in the attic, blocked soffit ventilation causing superheated attic air, or thermal bridging through uninsulated framing members can produce the same symptom. A blower-door test with infrared scanning distinguishes these causes definitively. We’ve resolved this exact complaint in homes near Beverly Boulevard and Laurel Avenue where the insulation appeared perfect but the assembly was leaking 400+ CFM of conditioned air.
Repair is cheaper when the damage is localized: a single compressed area from service work, a small rodent-contaminated section, or thin spots from initial inadequate coverage. Replacement is more cost-effective when contamination is widespread, settling exceeds 25% of original depth, or the air sealing failure is so extensive that lifting all insulation to access the ceiling plane is required anyway. We evaluate this on every job and specify in the written scope whether repair or replacement is the better value. For most West Hollywood homes with original insulation over 20 years old and no prior air sealing, comprehensive replacement with integrated air sealing delivers the lowest lifecycle cost. Call (213) 306-2607 and we’ll walk through your specific situation with the documentation you have.
The Bottom Line
Attic insulation maintenance is not about preserving material. It’s about preserving the assembly: the insulation, the air barrier, the ventilation, and the ductwork as an integrated system. West Hollywood’s diverse housing stock, extreme summer attic temperatures, and older wood-frame construction patterns create specific failure modes that a generic checklist won’t catch. Inspect biannually with a flashlight and ruler. Measure depth against your original job log. Watch for the four air-sealing failure signs. Check ducts on the same pass. Schedule professional blower-door testing every 2-3 years, and after any remodeling. Document everything. When degradation exceeds your baseline, address the cause before adding material. This is the sequence we’ve developed across 9,000+ homes, and it’s the sequence that actually preserves the performance you paid for. Explore more guides & resources for maintaining your home’s envelope.
Written by Wes Okafor, Owner at Topside Attic Insulation West Hollywood, serving West Hollywood since 2016.